Photography tips from a professional property photographer based in Berkshire
Property photography Berkshire | Property photographer Reading
We’ve all heard the saying: a picture is worth a thousand words — but when it comes to property photography for case studies, it couldn’t be more true.
If you are a Property Developer, Architect, Interior Designer or Builder, your projects deserve more than average phone snaps. You might have delivered an incredible result for your client, but if the photos don’t do it justice, that story risks going untold. Professional property photography has the power to turn an ordinary case study into a standout marketing asset.
But wait......as a professional property photographer based in Berkshire, I'm bound to say that?!
I also do appreciate however that at times, taking your own photographs of your property projects is better than none at all. So, I thought it might be helpful to give a handful of easy to implement tips to help you take the best possible photographs to showcase your work.
Tip 1 - think about the light
- Use natural light wherever possible
- Shoot during daylight hours - ideally mid-morning or early afternoon
- Open curtains and blinds to let in as much natural light as possible.
- Ideally, take photos into the room with the window light behind you. This makes it much easier to expose for the room.
Tip 2 - Stage the room for your target audience
- Declutter and depersonalise the room. Remove personal items/photo frames etc...
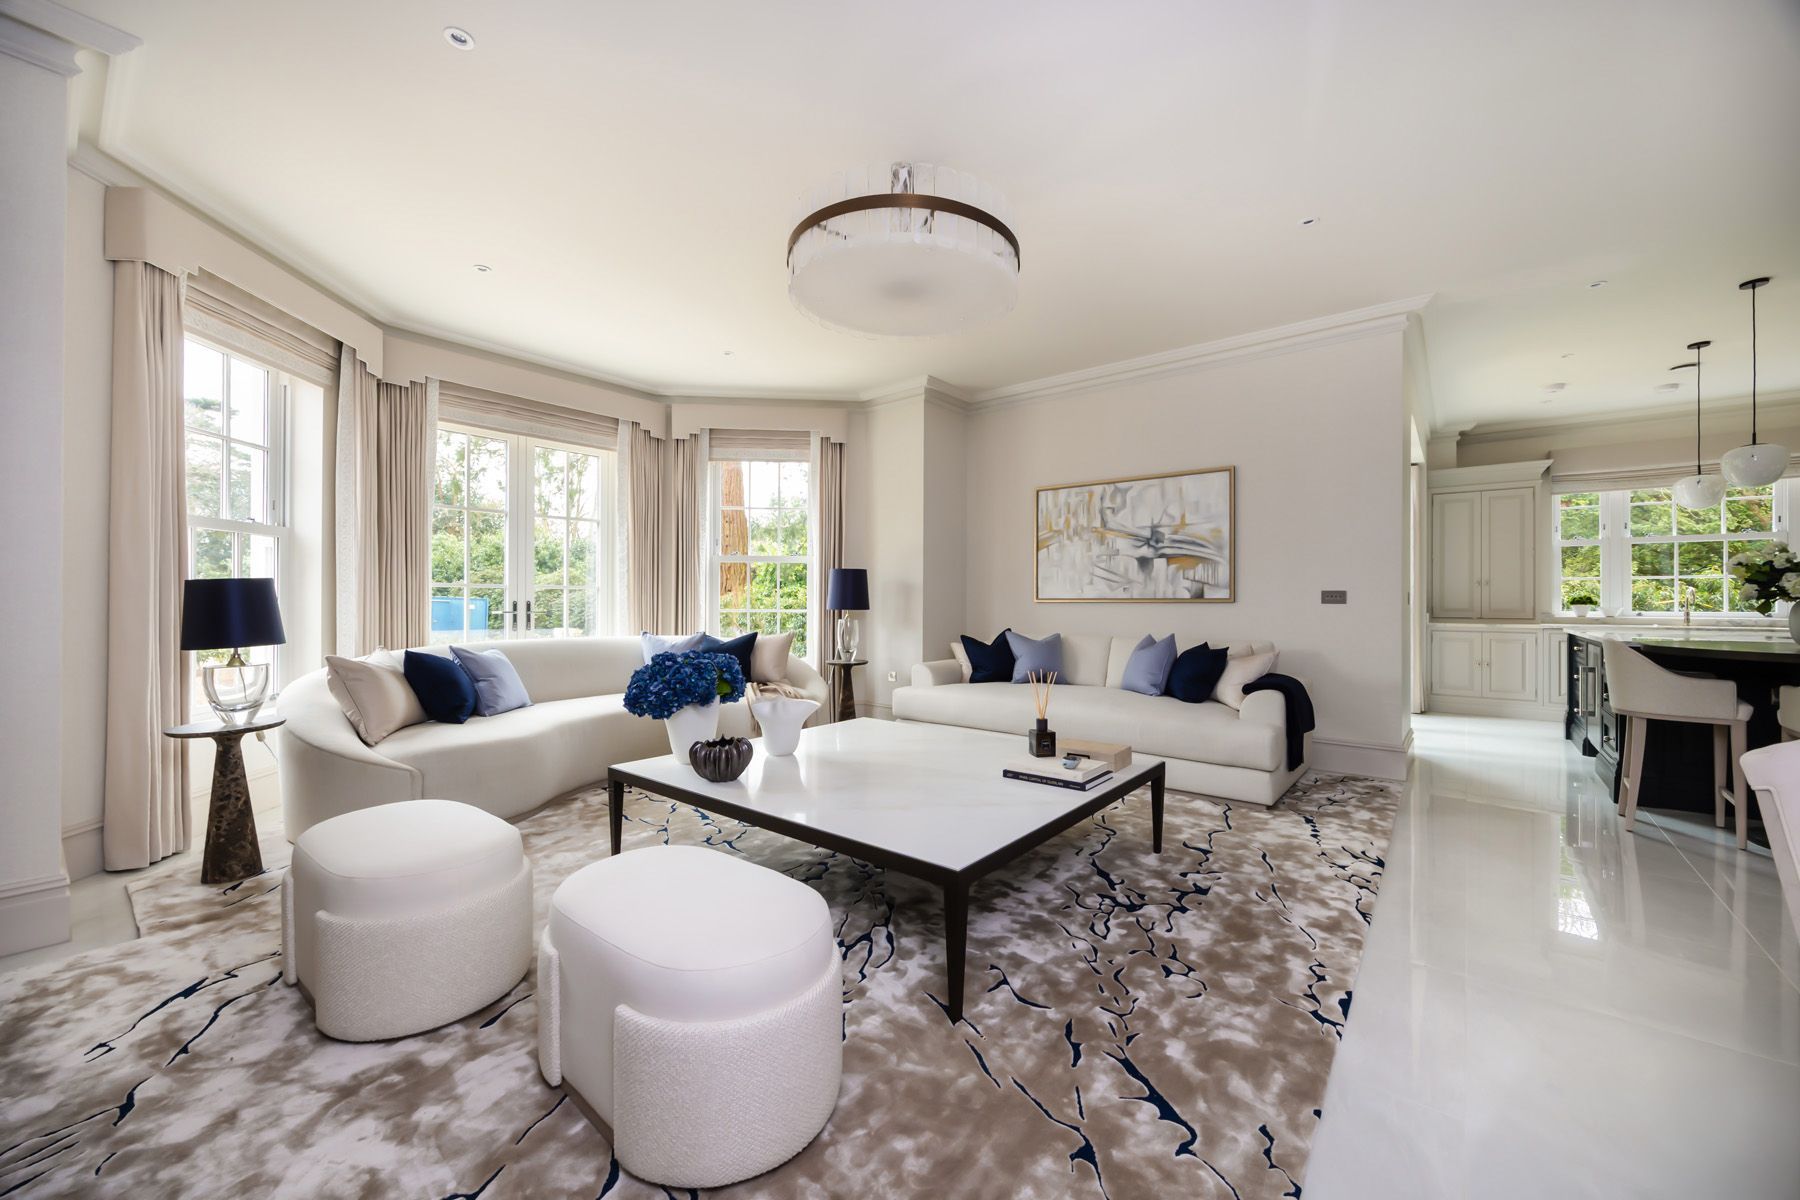
- Make the space look inviting using flowers, lifestyle magazines and neatly folded towels in bedrooms and bathrooms.
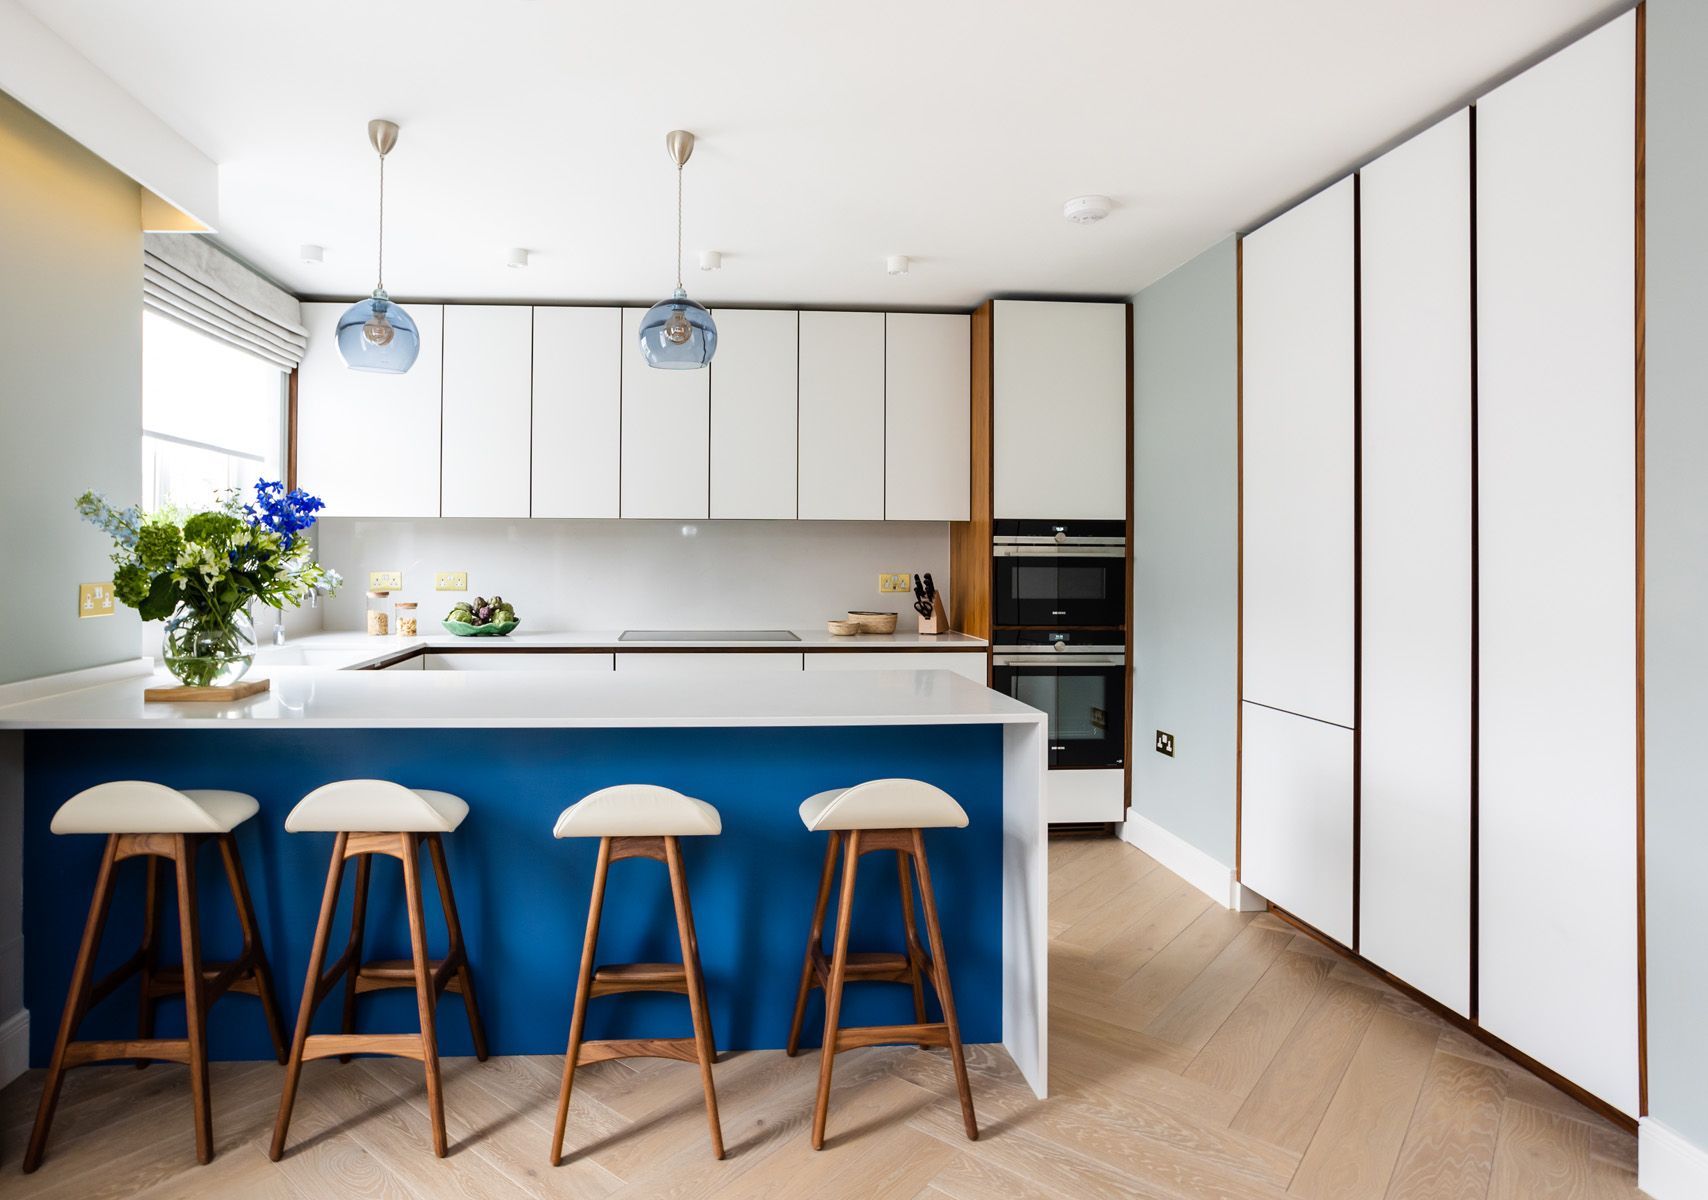
- Use accessories which will be aspirational to your target audience. For high end properties, cheap accessories just won't cut it.
Tip 3 - Keep the Camera Level
- Use a tripod with a spirit level - there's nothing worse than wonky photos!
- Smartphones often have a spirit level function in the settings
- Consider using the wide-angle option on your smartphone. But don’t overdo it — too wide can sometimes make rooms look odd.
Tip 4 - Take multiple angles of each room
- corner to corner shots often make spaces look bigger
- take external shots to show the neighbourhood
Tip 5: The money shot.....
- Work out which angle/room/interior/exterior really is the shot with the 'wow factor' for your potential new clients. Then photograph that in the best light possible. Eg - for east facing properties, the best time of day to photograph them is morning or properties facing west, the afternoon would be better.
- Also, capture unique selling points of the property eg: fireplaces, kitchen islands, garden views, parking etc.
- Detail/abstract shots always work well too
So - hopefully there are a few useful tips to help you take some more attractive looking property photos.
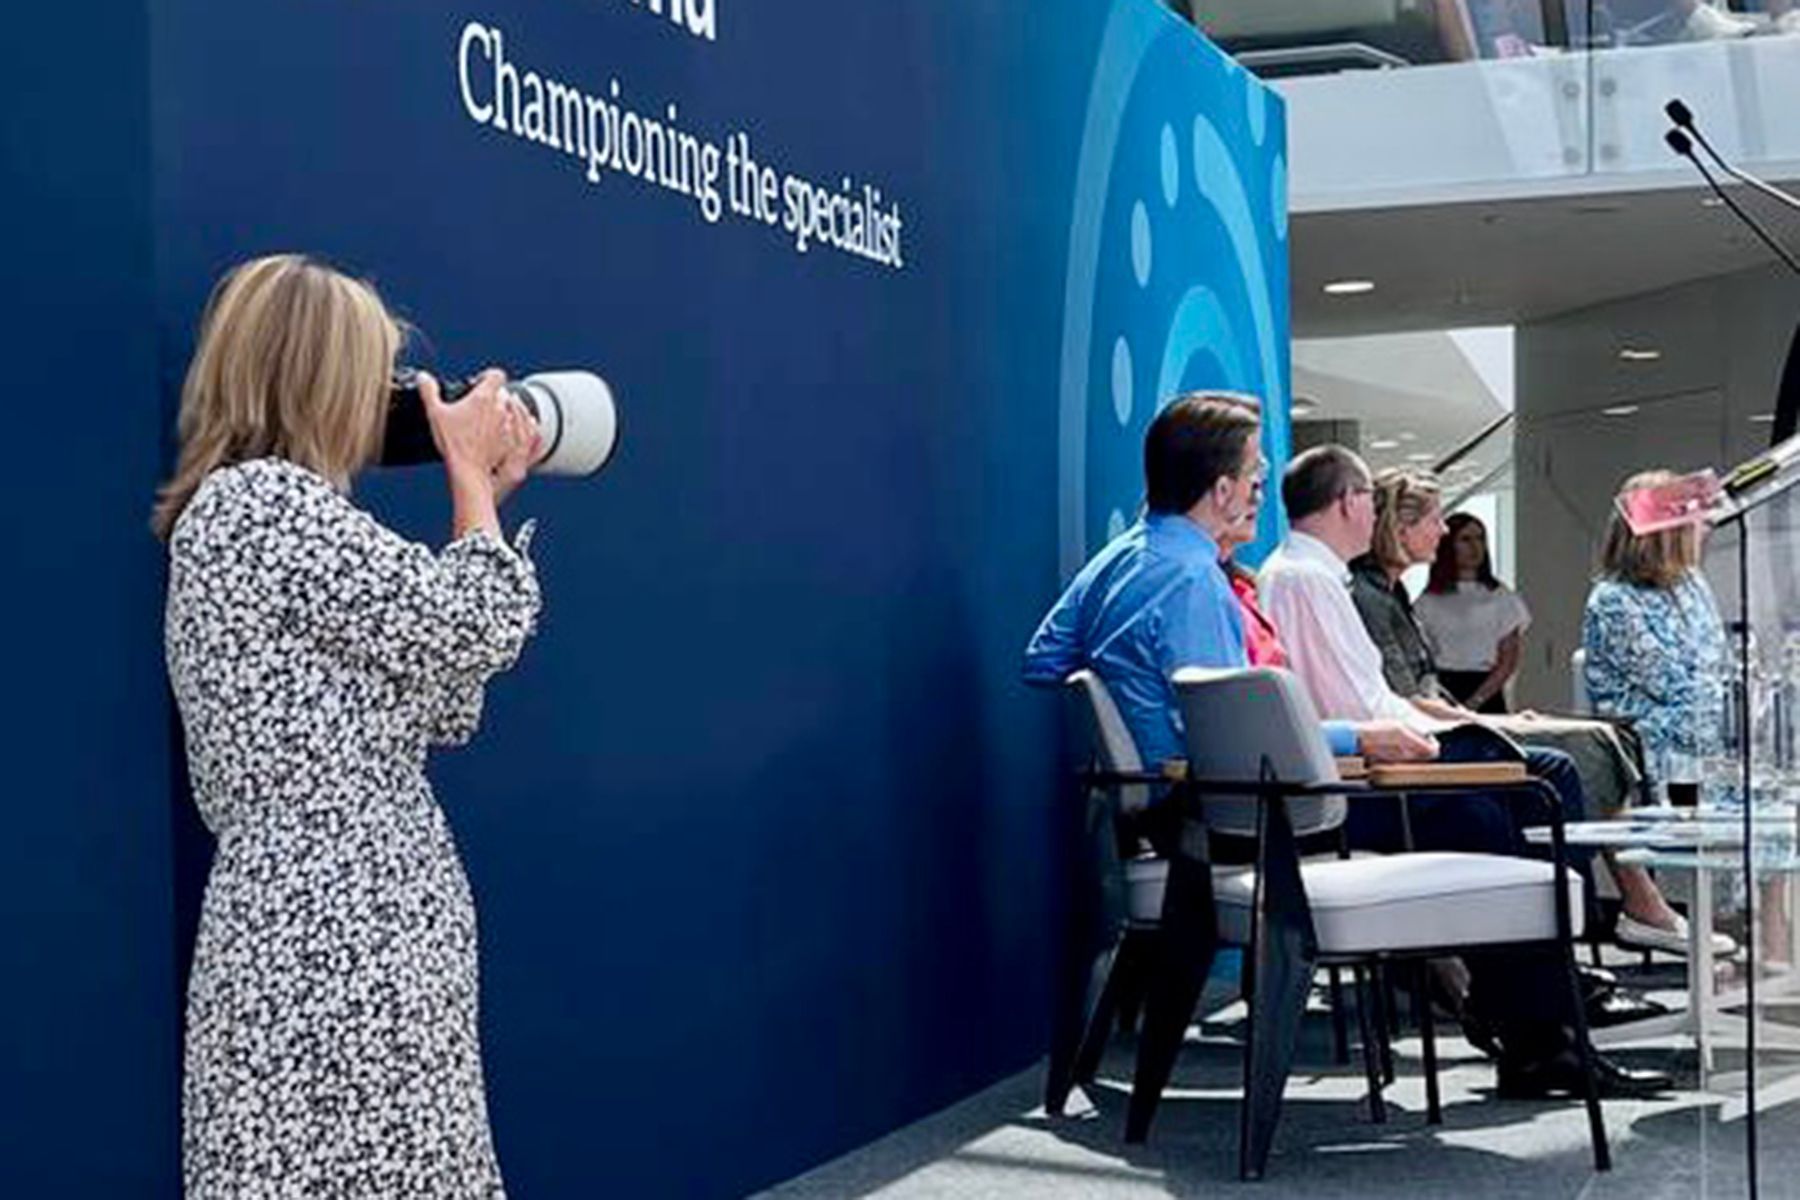
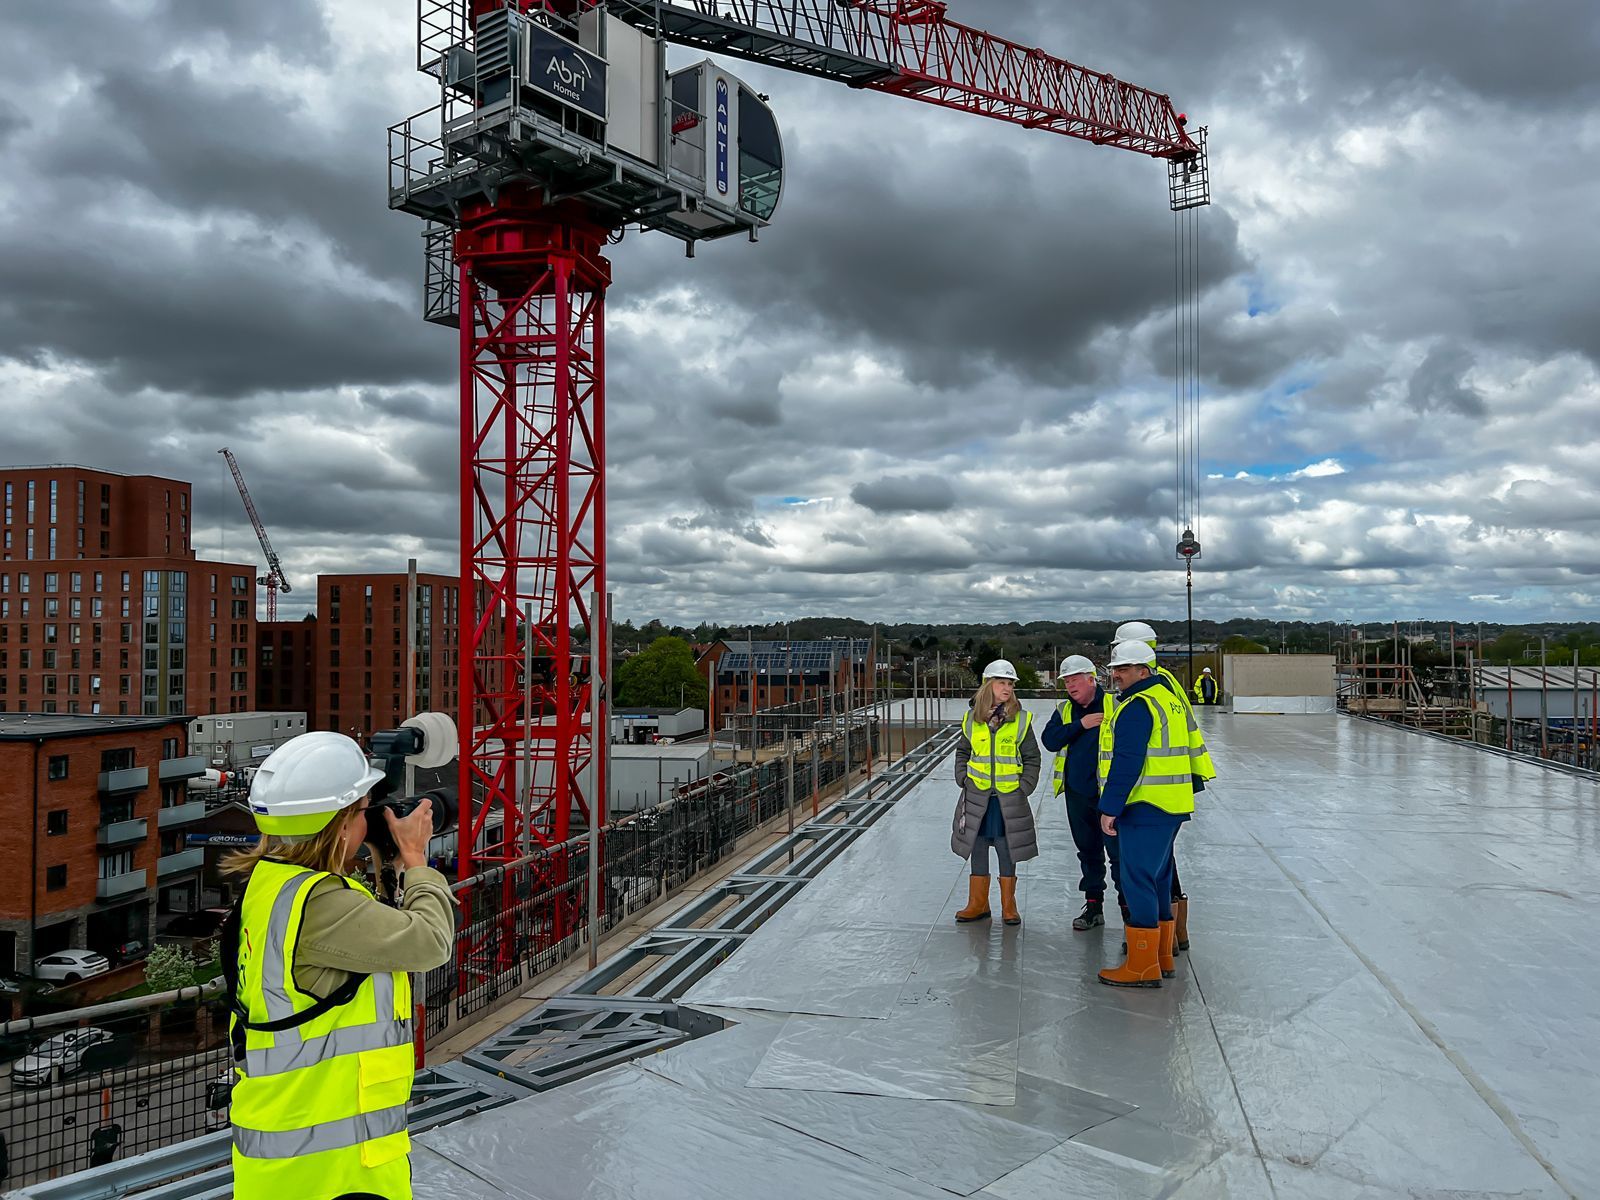
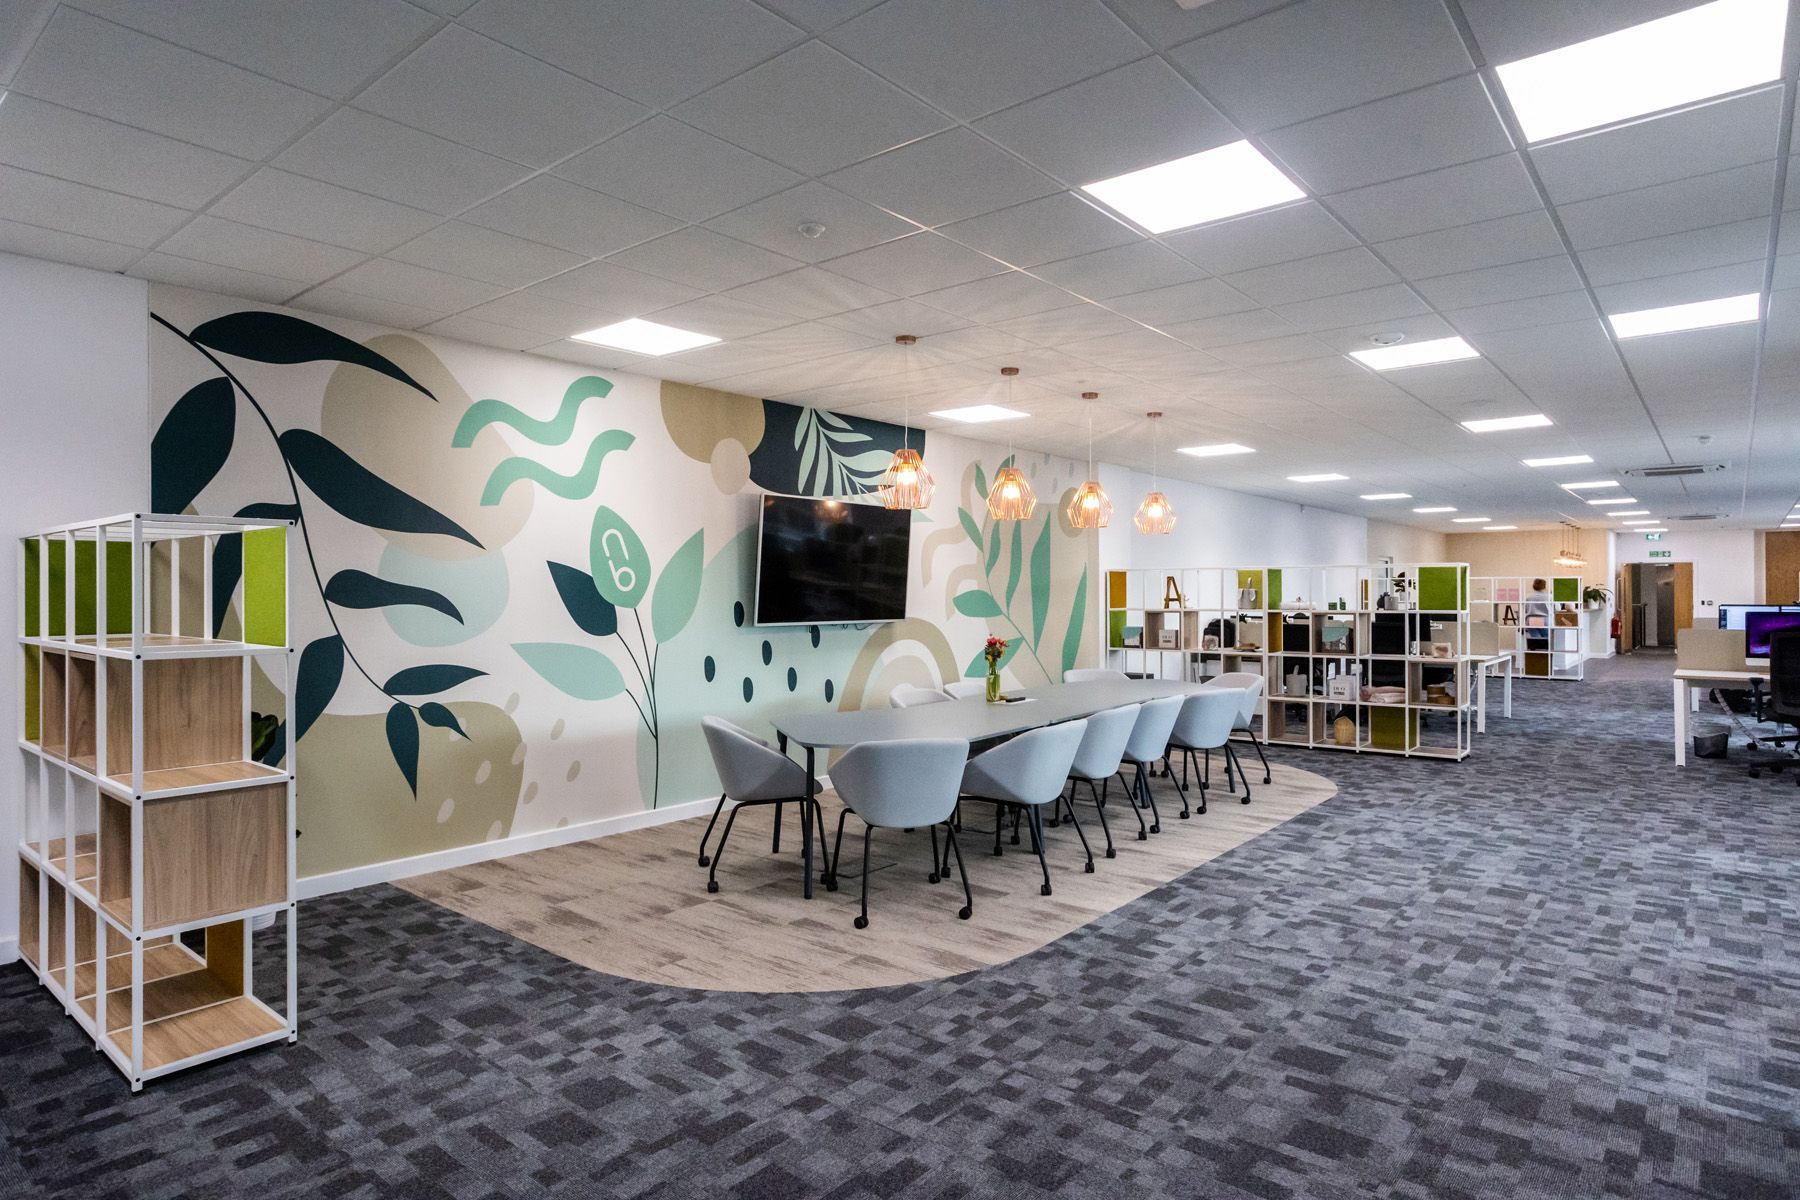
Alternatively, why not get in touch to find out about my case study packages to give you beautiful photos which can be used across all your marketing collateral. I have worked in both the residential and commercial sector. Here are some more examples of photos I have taken for various Interior Designers, property developers, architects and builders: case study gallery. Or, if you're still unconvinced why you need professional photographs for your website/case study pages, why not take a look at my recent blog
here which explains why they are so important to your business.
I look forward to hearing from you.
Pennie