It's summer holiday season - here are some easy tips to help you take better photos on your smartphone
Professional photographer Reading | Professional photography Reading
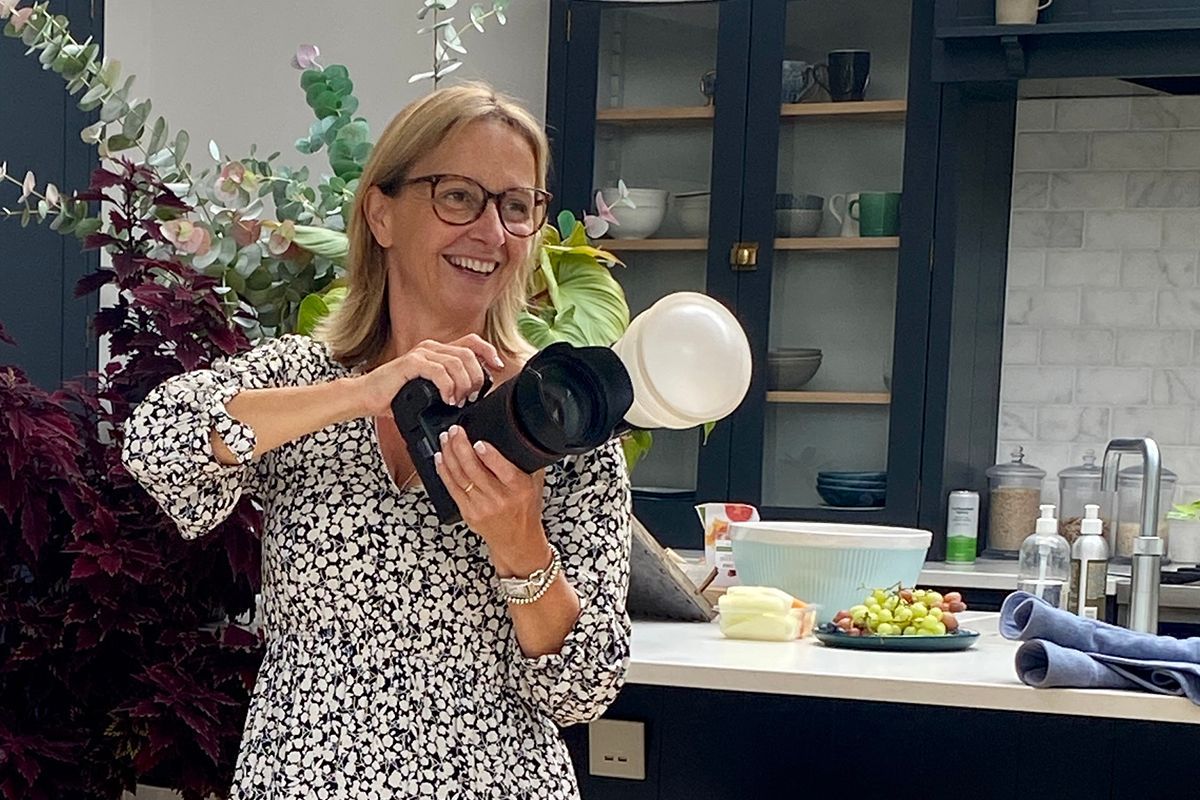
In my day-to-day work as a professional photographer based near Reading, I rely on professional photography kit and a variety of lenses for client shoots.
But when I'm on holiday, I love the simplicity of leaving my heavy camera bag behind. Instead, I make the most of my iPhone camera, along with a few tried-and-tested techniques I've picked up over the years. I thought I'd share some of these tips with you, so you can capture better holiday photos too.
Tip 1 - I'll start with what I feel is the most important (and indeed easiest) tip of all. It can be summed up in just 3 words - CLEAN YOUR LENS.
Have you ever noticed that sometimes your photos are a bit blurry? That'll be fingerprints/grime/grease which inevitably gets onto your phone lens while it's in your hand, in your pocket or at the bottom of your bag. By simply getting in the habit of wiping your phone lens before taking every single photo will make a massive difference. (Remember to do the front one too if you're taking a selfie).
Tip 2 -
Composition is so important in photography and one of the first things I want to introduce you to is the
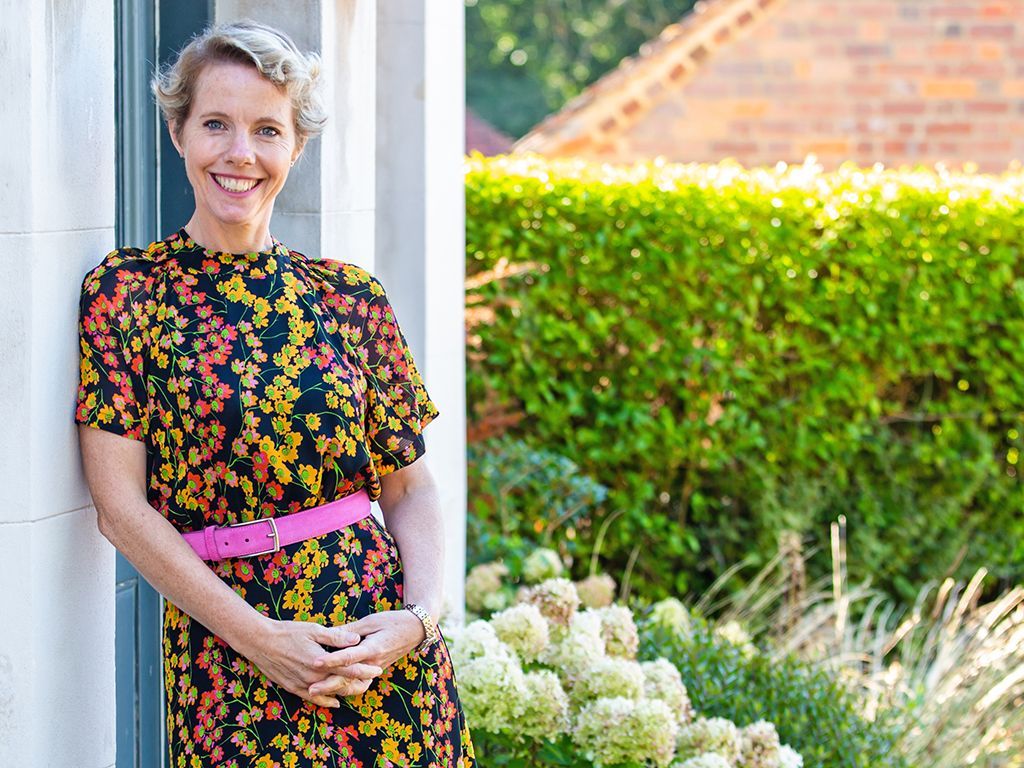
Rule of Thirds. This is simple both to learn and to implement. All you have to do is imagine you have split your camera screen into a grid - just like a noughts and crosses board. Then, place the main subject(s) of your photo where the lines intersect. For example, in the photo below, the person is placed to the left of centre which is much a more dynamic composition than if it was bang in the middle. To help you, you can turn on your camera’s grid lines (Go to Settings > Camera, and toggle on Grid under Composition). The grid lines will also help you keep your phone level when taking landscapes.

Tip 3 - Use Portrait mode. This will blur the background, creating that beautiful depth of field so often seen in professional photos. But always make sure that your subject is in focus first with a simple tap on the screen on the person/animal/subject in your photo, then press the shutter.
Tip 4 - Timing - make the most of the beautiful, soft, warm light during the Golden Hour. This is the last hour before sunset and the first hour after sunrise during which almost everyone and everything looks absolutely gorgeous. You can even download the Golden Hour app to get recommendations for best times to go out to take photos based on where in the world you are. Also, it's always best to avoid the midday sun - it's very harsh and creates unflattering shadows.
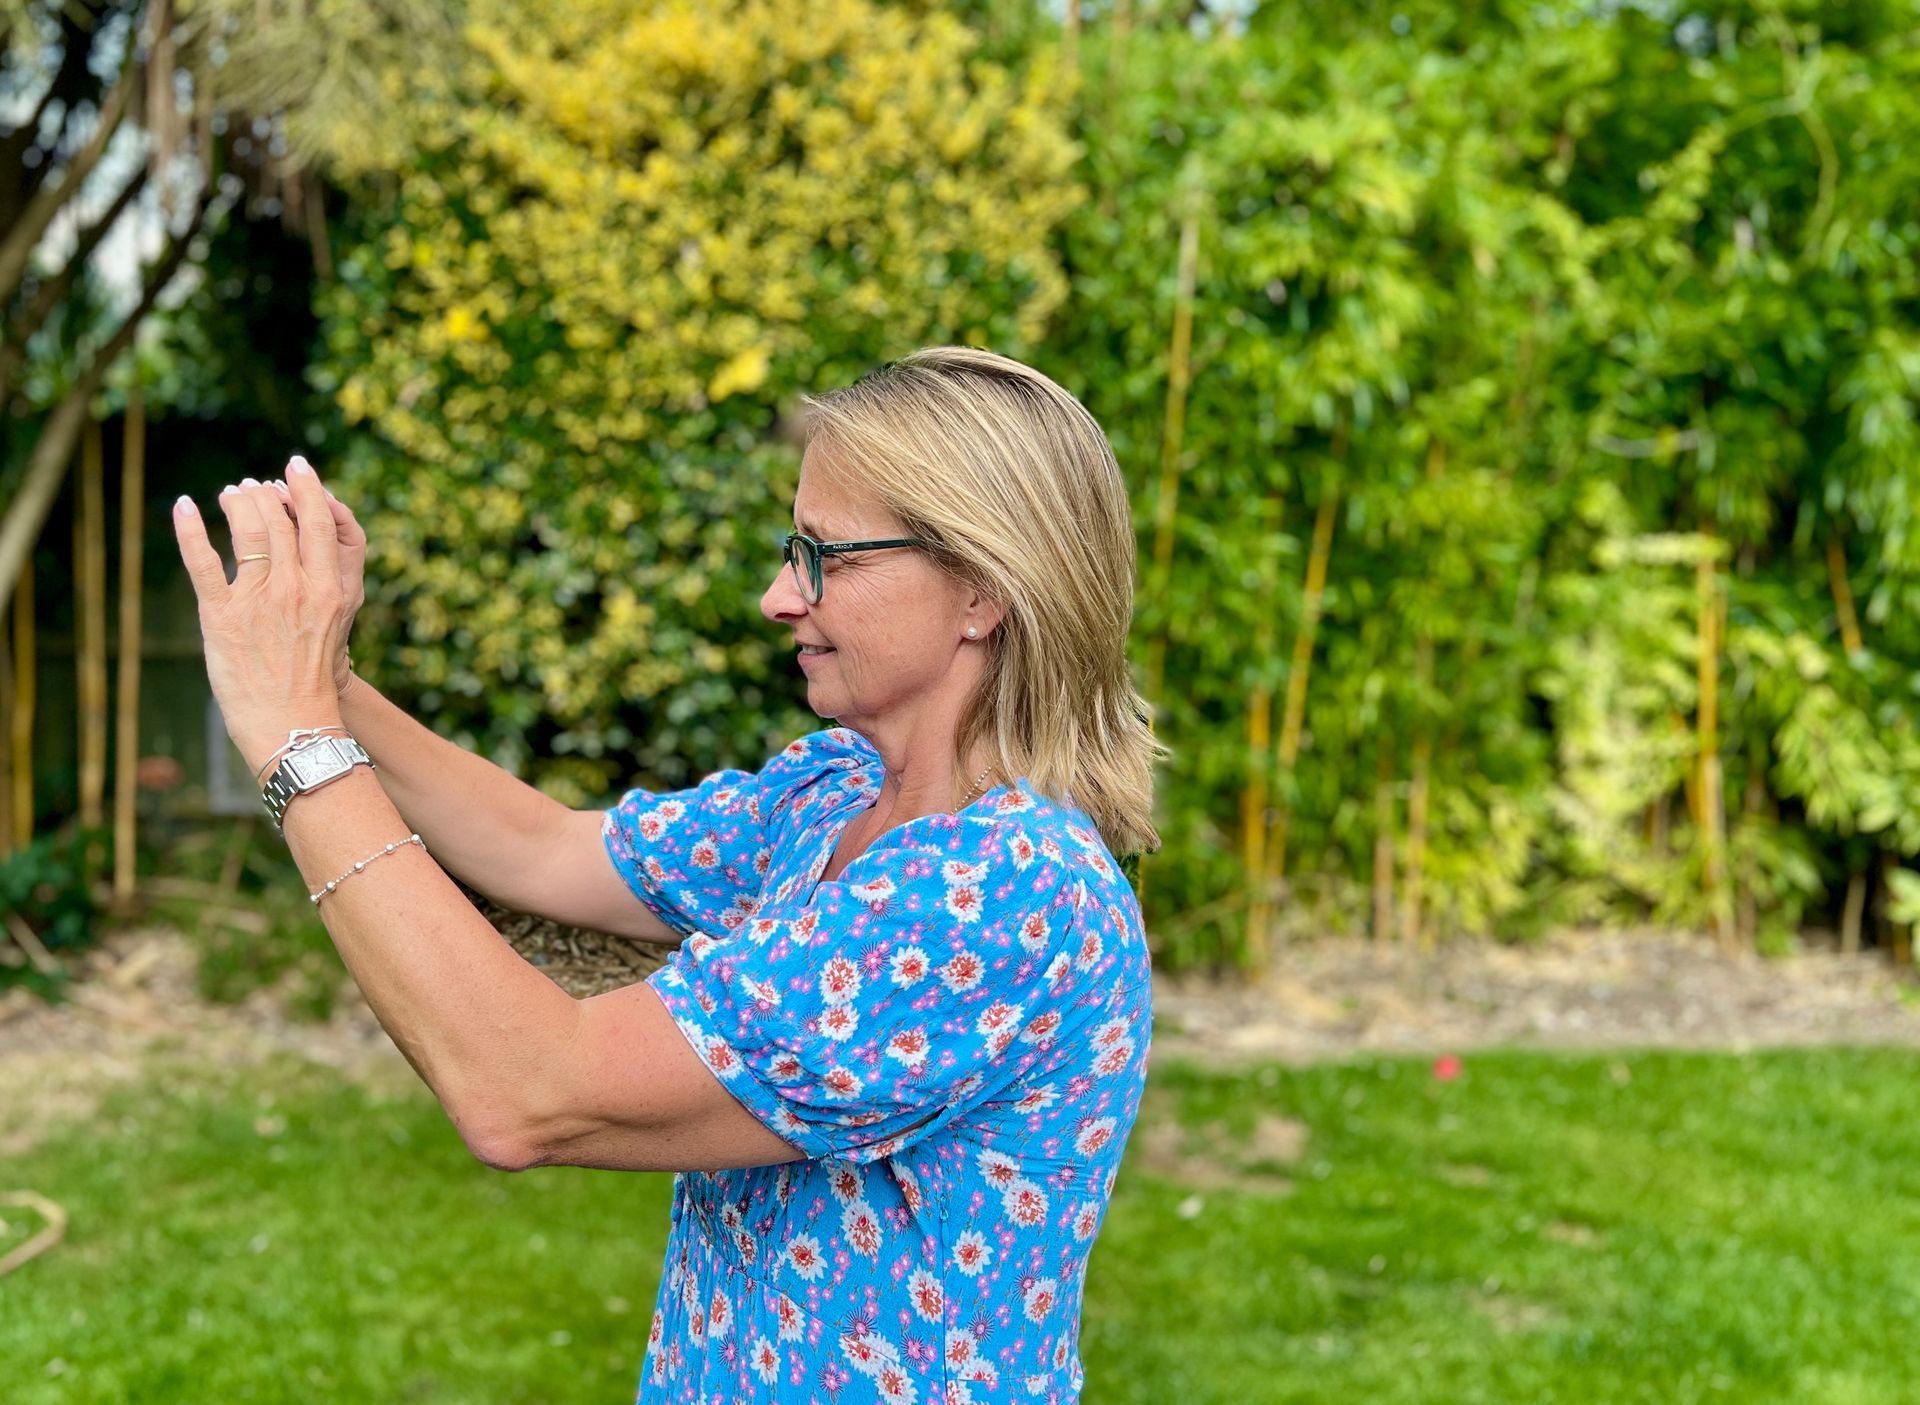
Tip 5 - this also relates to the light - whenever you can, always
face
the light - whether that's a window or towards the sun if you are taking a selfie.
If it's too bright, look for some top shade under trees or in a doorway.
Tip 6 - Use a
tripod or the phone
self-timer function. Are you never in family photos because you're always the one taking them? Then it's time to get a tripod for your phone. It doesn't have to break the bank (mine was less than £20 and doubles as a selfie stick). They also often come with a Bluetooth remote control to make it even easier to take photos. However, if you don't want to pay for a tripod, your smartphone already has a built-in timer inside the camera app, so you can set it, then jump in and be part of the photo. (Or if you have an Apple Watch, you can take a photo using the camera remote app).

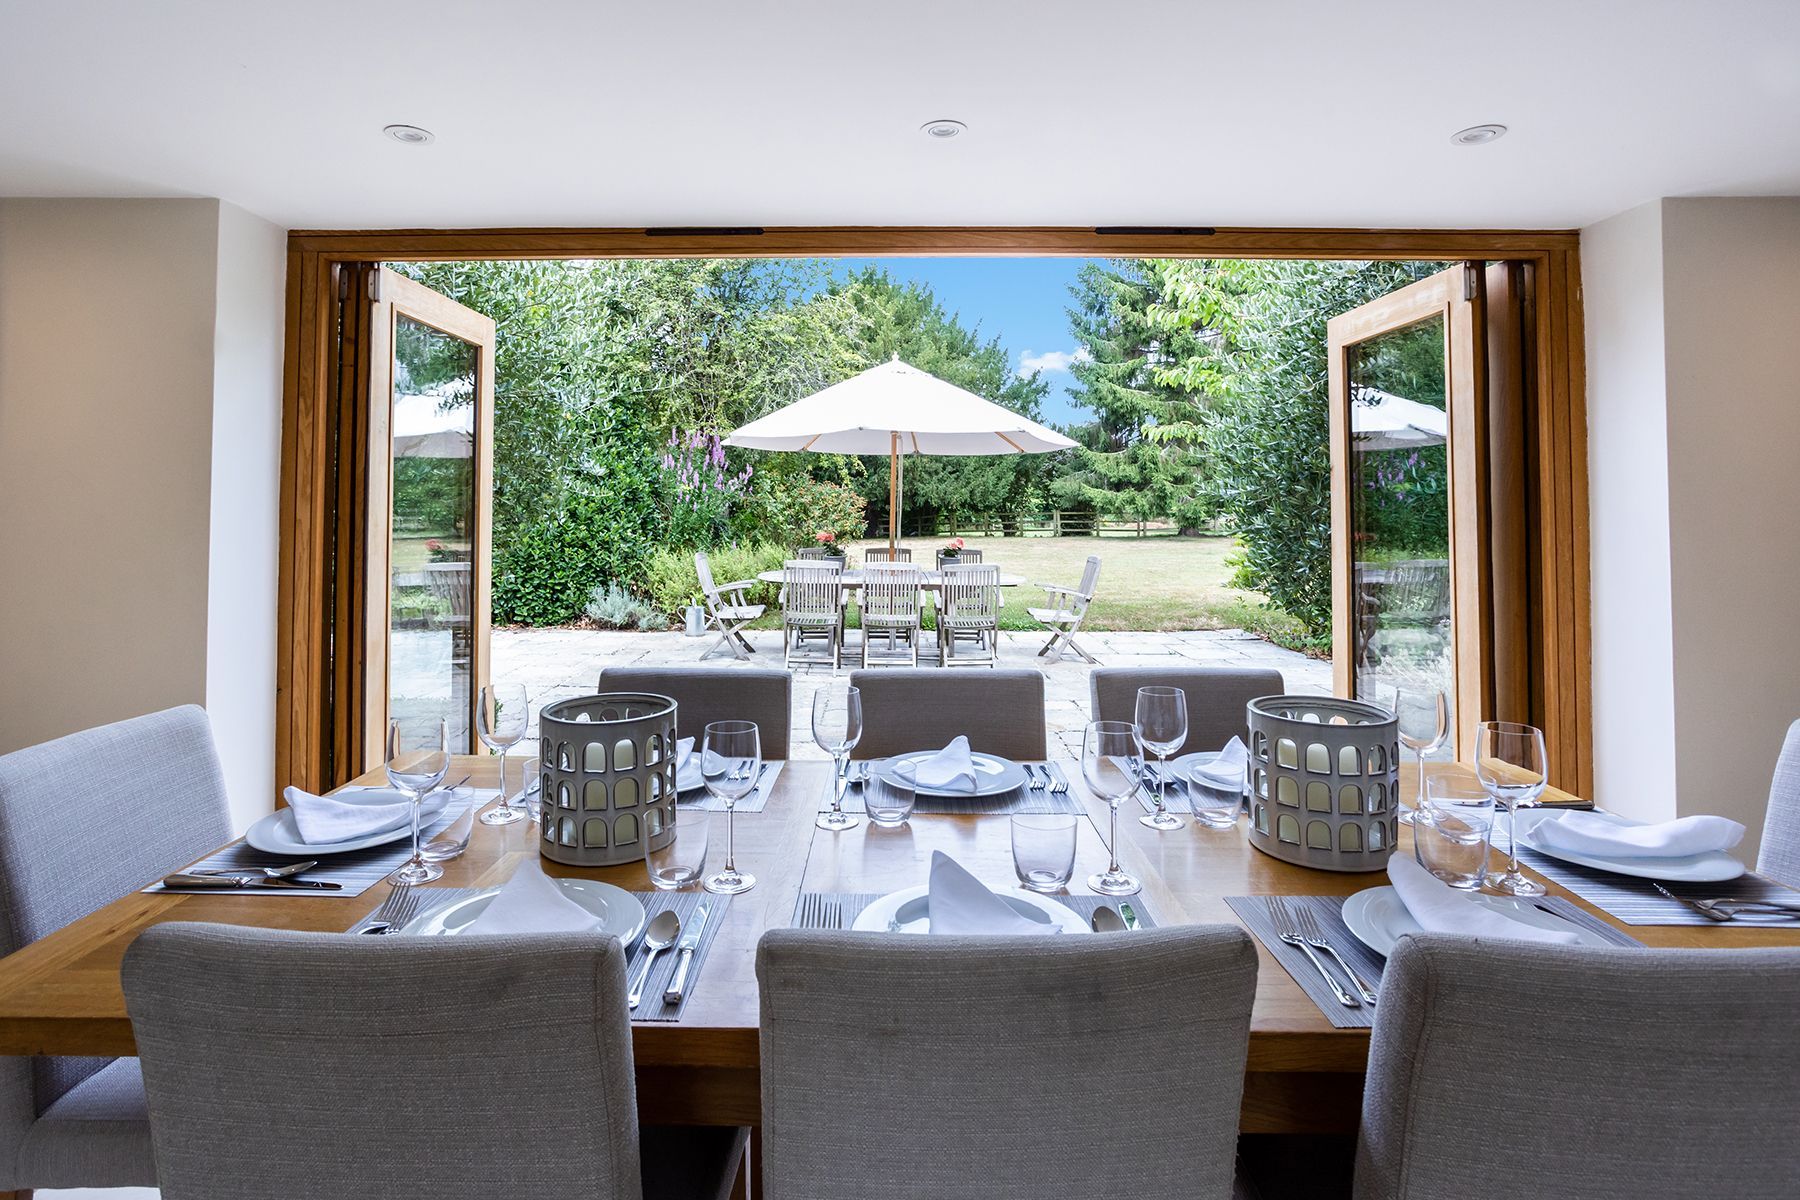
Tip 7 - another simple tip to improve your photos is to always make sure that the subject on your phone screen is definitely in focus. To do this, tap the screen on the part of the image you want to focus on. This can either be a close-up item or something in the background. The iPhone will focus where you tap for a clearer picture (see photo above).
Tip 8 - capture moments like jumping into the sea, dancing or children running towards you with Burst Mode. This will capture a rapid sequence of photos. To take a burst of photos, open the camera app, swipe the shutter button left and hold it down. Lift your finger to stop. You can then select your favourite photo out of the selection.
Tip 9 -
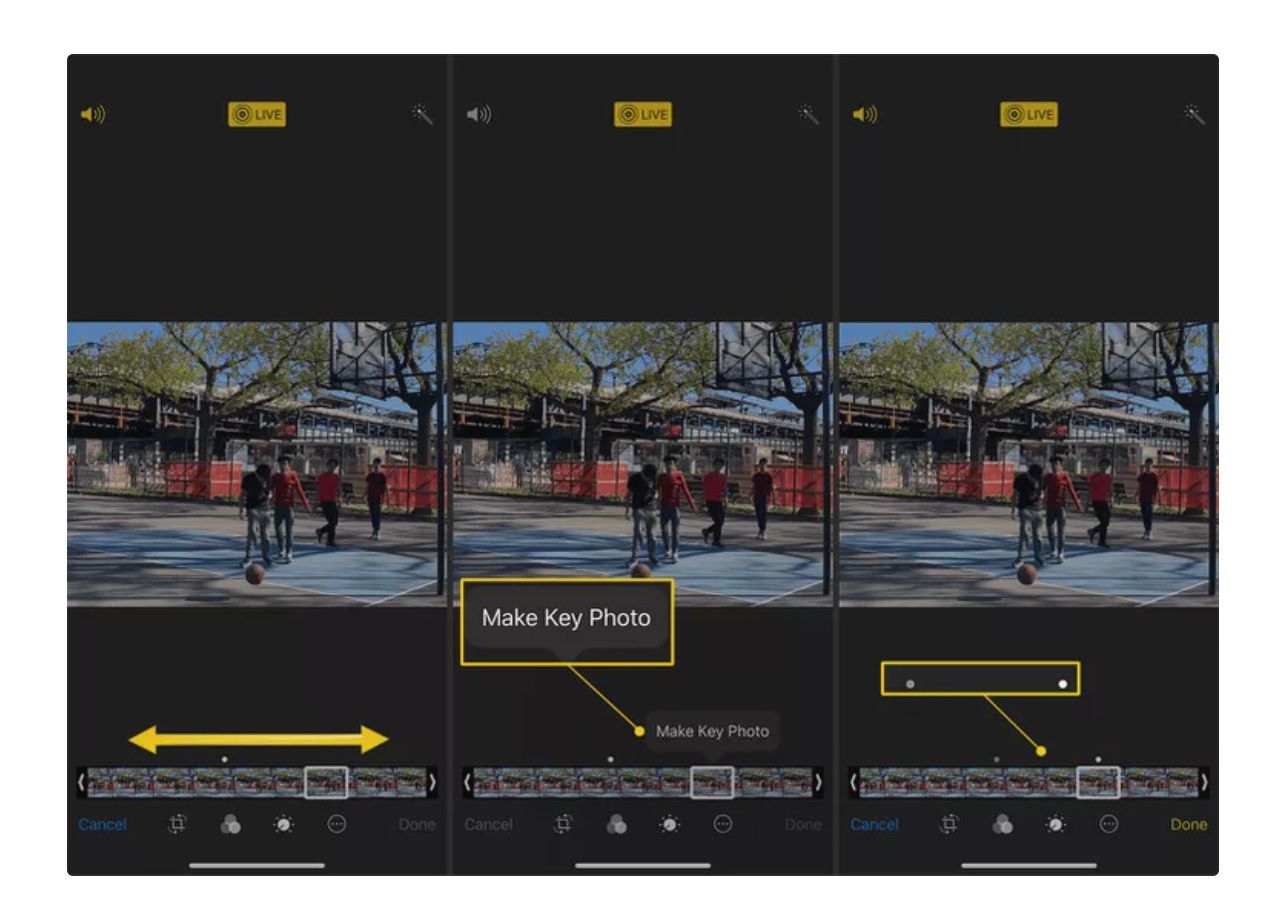
An alternative to burst mode is to turn on
Live
Photos. In this mode, your iPhone records what happens 1.5 seconds before and after you take a picture. You can then choose the best one that you want from the selection (and make your key photo - see below). You can turn this on (or off) using the target symbol which is top right of your phone screen.
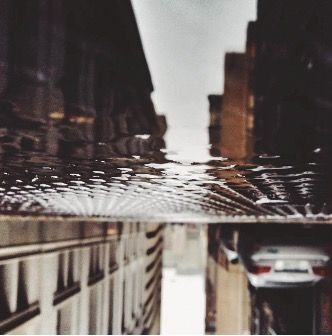
And finally.......Tip 10 - let's get creative! Lying down on the floor and shooting from a low angle can get you a really different viewpoint but apart from being back breaking, it's still hard to get really low because the camera lenses are at the top of the phone. So instead, turn your phone upside down. That way it will be right down at ground level. This is perfect for taking reflection photos using a puddle or at the edge of a pool, like this:
So - now there should be no stopping you from getting cracking holiday photos now you are armed with a few simple tricks which you can implement immediately - but just remember - always CLEAN YOUR LENS first!
Thanks for reading - Pennie
PS - as a side note, these tips are based on using an iPhone. However, there are usually similar features on Android phones too.